AntsRoute webhooks: trigger workflows in your favourite tools
Blog > Product updates > AntsRoute webhooks: trigger workflows in your favourite tools
AntsRoute webhooks: trigger workflows in your favourite tools
Published on 26 July 2021 • Reading time: 4 min read
At AntsRoute, our priority is to save you time. So, we’ve added a new feature that should simplify your day-to-day work and save you precious time. You can now set up webhooks to automate the sending of information from AntsRoute to your favourite applications.
What is a webhook?
In simple terms, a webhook is a solution that enables two information systems to communicate in real time. The webhook, or HTTP callbacks, retrieves information from one application and transfers it automatically to another system. The aim is to save time by eliminating repetitive data transfer tasks. By using this programming method, you no longer need to constantly query an application to determine whether any changes have been made.
The icing on the cake? Setting up a webhook takes just a few minutes and generally requires no coding.
Effortlessly trigger workflows in your favourite applications
By using webhooks, you can receive real-time notifications in your favourite applications as soon as a change is made to a task from AntsRoute. This means you can automate a multitude of tasks in your applications.
For example, you can set up a webhook that triggers an automated notification to be sent to your invoicing software as soon as a delivery is made. As soon as you receive this notification, you can trigger a workflow. In other words, you can create a personalised action based on the information received. For example, creating an invoice and emailing the document to the customer.
Here are the AntsRoute events to send:
- Work order assigned to a route ;
- Work order created ;
- Work order confirmed ;
- Work order pending ;
- Work order locked ;
- Work order done ;
- Work order canceled ;
- Work order deleted ;
- Work order set to unassigned state ;
- Work order brought forward or delayed or assigned to another route ;
- Notification sent ;
- Customer signature added ;
- Proof of delivery (photo) added ;
- Route ended ;
- Route started.
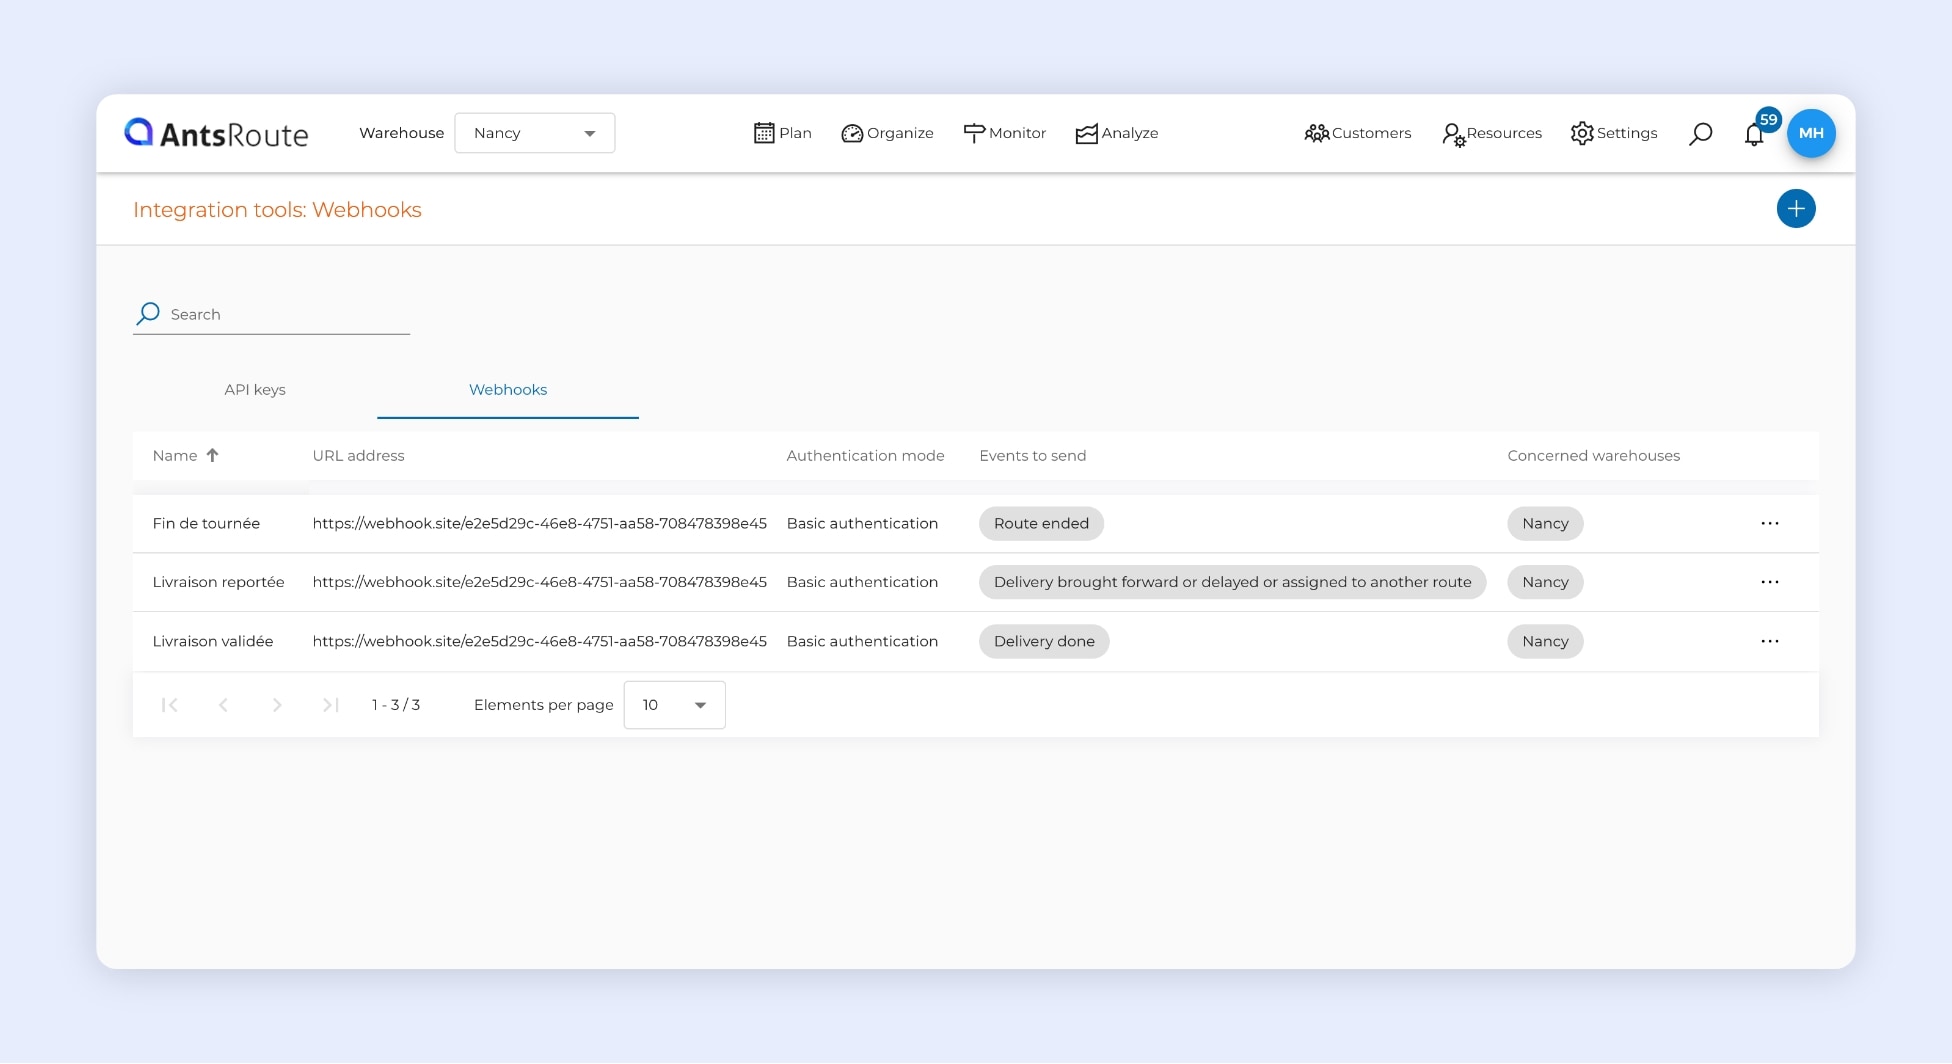
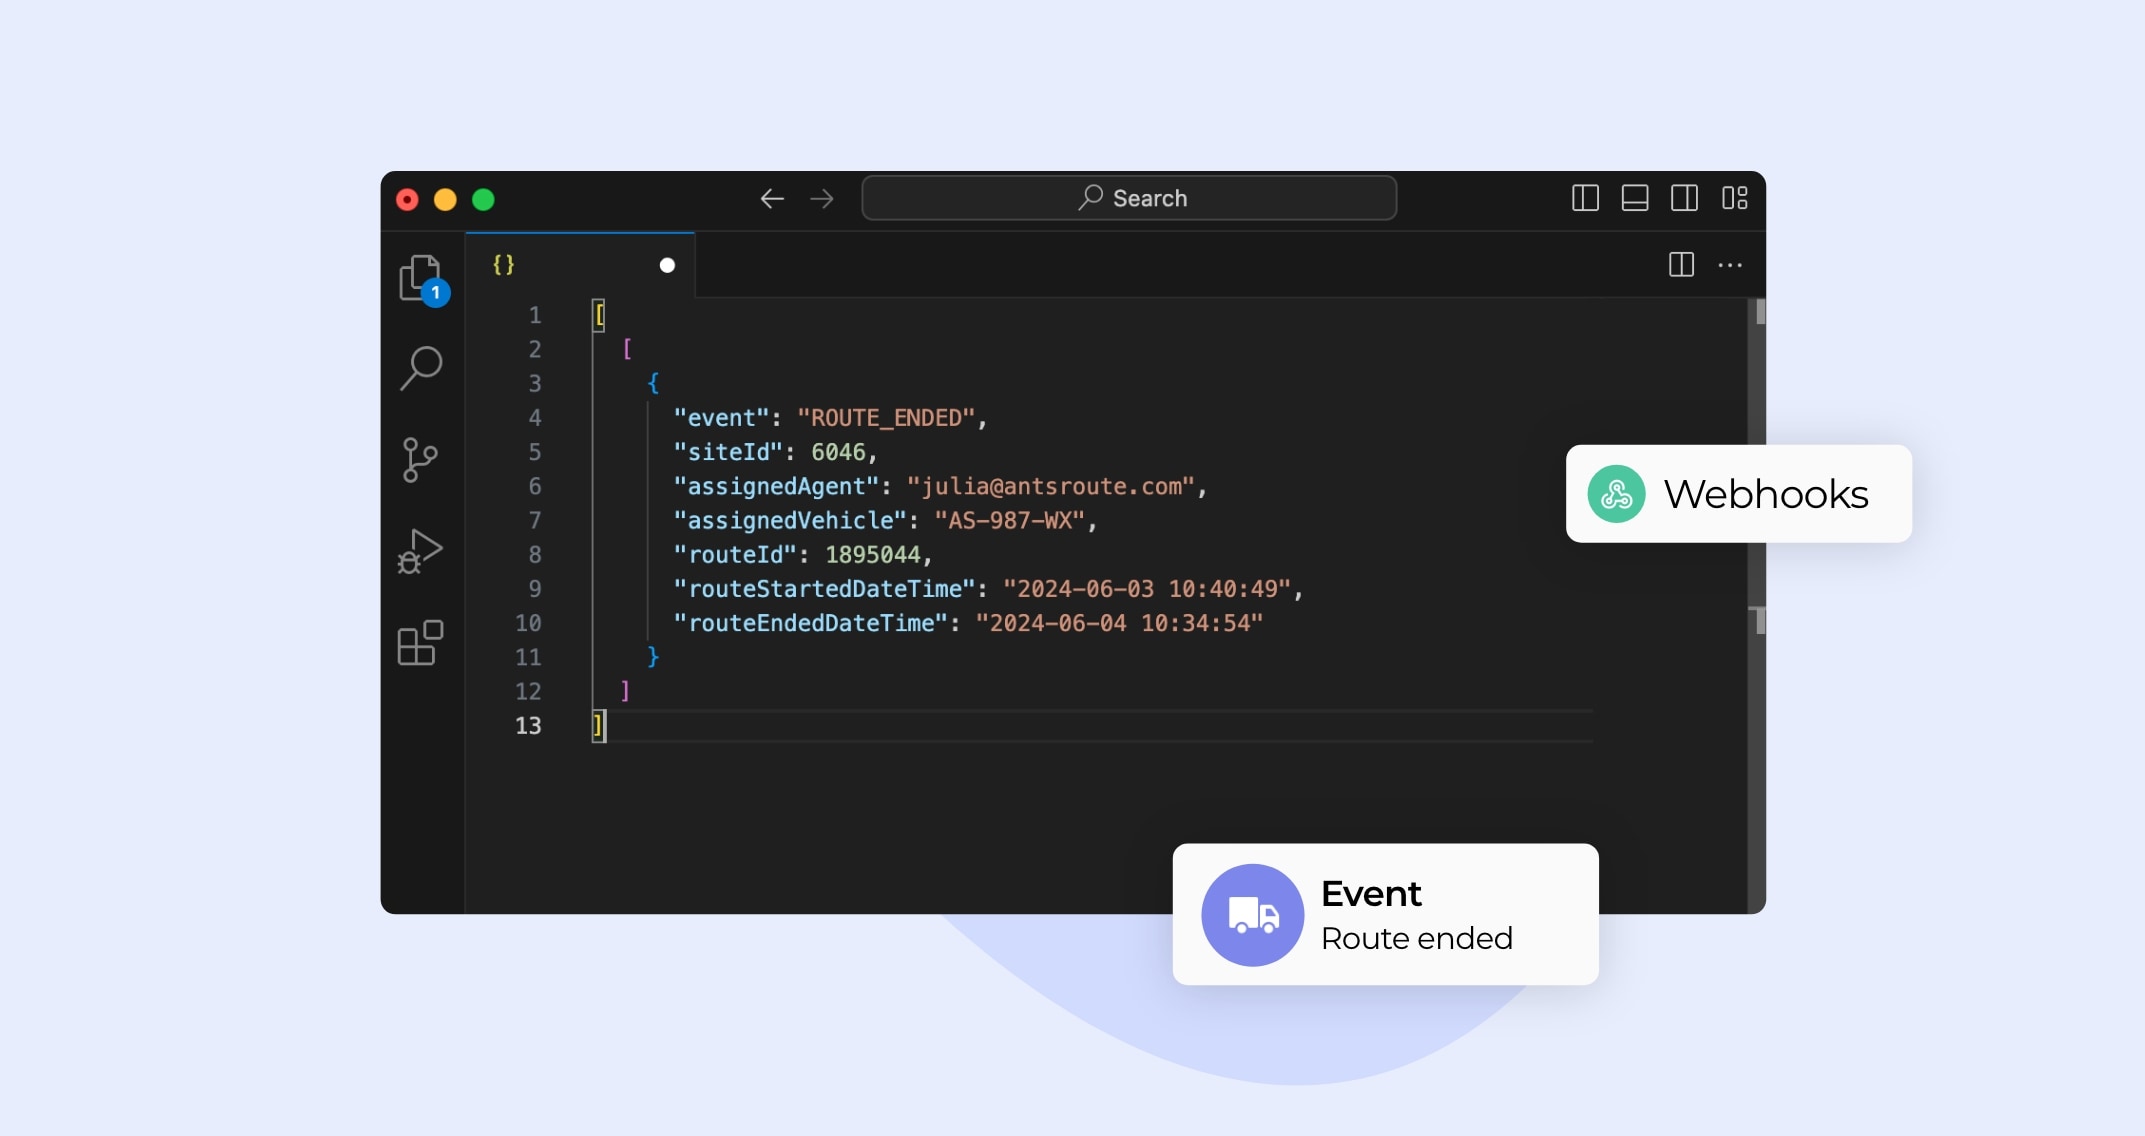
The use of webhooks on AntsRoute.
Here is the associated information that is transferred via HTTP requests:
- Event ;
- Work order ID ;
- External ID ;
- Site ID ;
- Date of work order ;
- Work order status ;
- Planned time of work order ;
- Assigned driver ;
- Assigned vehicle.

Logs from a webhook on AntsRoute.
And for those who use Zapier?
If you’re using our integration with the Zapier web service to juggle your different tools, we’ve got some good news for you! Until now, AntsRoute could only be selected for the “Action” event. Well, you can now choose our route optimisation tool for the “Trigger” event. Let’s take the example of a connection between AntsRoute and Quickbooks using Zapier. You can now create a Zap so that cancelling a job on AntsRoute triggers the deletion of the associated invoice on Quickbooks.
How do I set up a webhook?
Ready to find out how to automatically transfer your data from AntsRoute to other applications? To start with, you don’t need to know how to code. Just take a few minutes to set up your webhooks, and once you’ve done that, you won’t need to worry about it again. All you need to do is follow these simple steps:
Step 1: Indicate the URL of the webhook of the receiving application, i.e. the application to which you want to send the data. For example, if you use software to manage your invoicing and want to automate the creation of a new invoice as soon as a delivery is made with AntsRoute, you need to retrieve the URL of its webhook.
Step 2: You can now go to AntsRoute to add a new webhook. To do this, go to “Integrations” > “Webhooks” > “Add”. Fill in the URL you retrieved earlier, choose an authentication mode and select the event to send from those shown above. And that’s it!
From now on, as soon as the chosen event is completed, the information will be sent automatically to the URL entered. For example, the invoicing tool is alerted and can create a new invoice for each new delivery made.
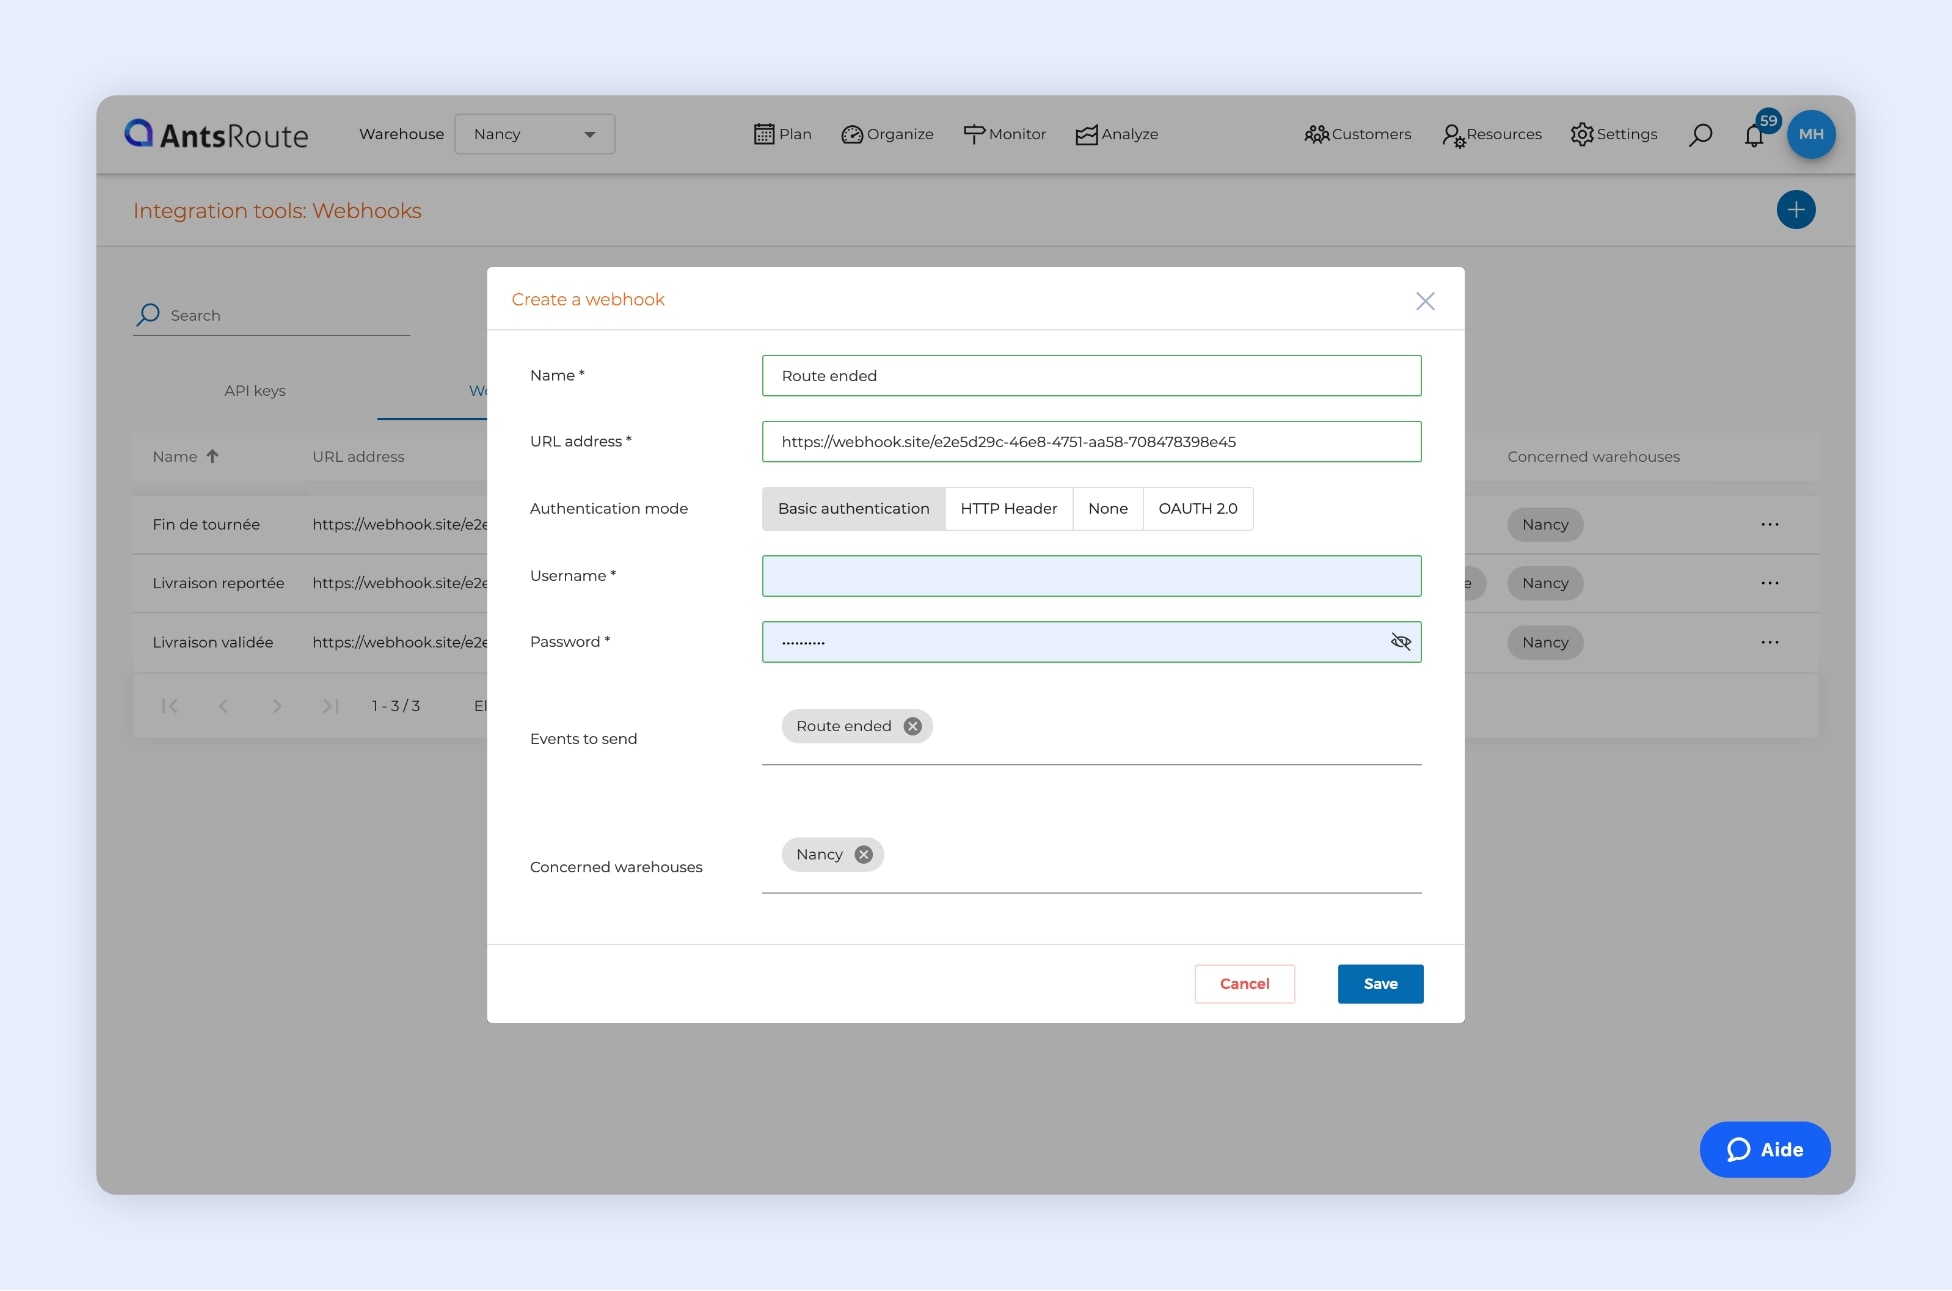
The creation of a webhook on AntsRoute.
To check that the information has been sent to the receiving application, you have logs for each webhook you have created. This enables you to find out about any errors that are preventing the information from being sent back.
To find out more about setting up webhooks on AntsRoute, see our support article.
Note: Webhooks are available to all AntsRoute users from the Essential plan onwards.
Any questions? Don’t hesitate to get in touch with our support team by filling in our contact form. We would be delighted to help you.
Optimise your last-mile routes today
Free 7-day trial | No credit card required


