April 2024: What’s new in AntsRoute?
Blog > Product updates > April 2024: What’s new in AntsRoute?
April 2024: What’s new in AntsRoute?
Published on 23 April 2024 • Reading time: 5 min read
The AntsRoute team has been working hard over the last few weeks to develop the features you’ve been asking for. Are you ready to explore all these new functions?
Table of contents
- Il software AntsRoute è disponibile in italiano.
- Enable customers to download reports from the tracking and rating links.
- Access new indicators in the “Work order report” tab.
- Index custom fields to find work orders using the global search.
- Booking site: maximum distance for adding the first work order in a route.
- Planning link: define authorised scheduling days.
Il software AntsRoute è disponibile in italiano
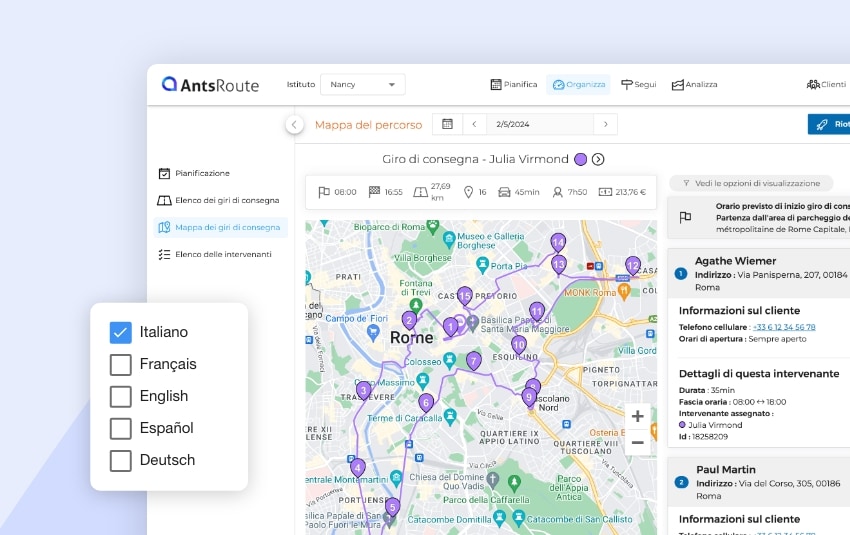
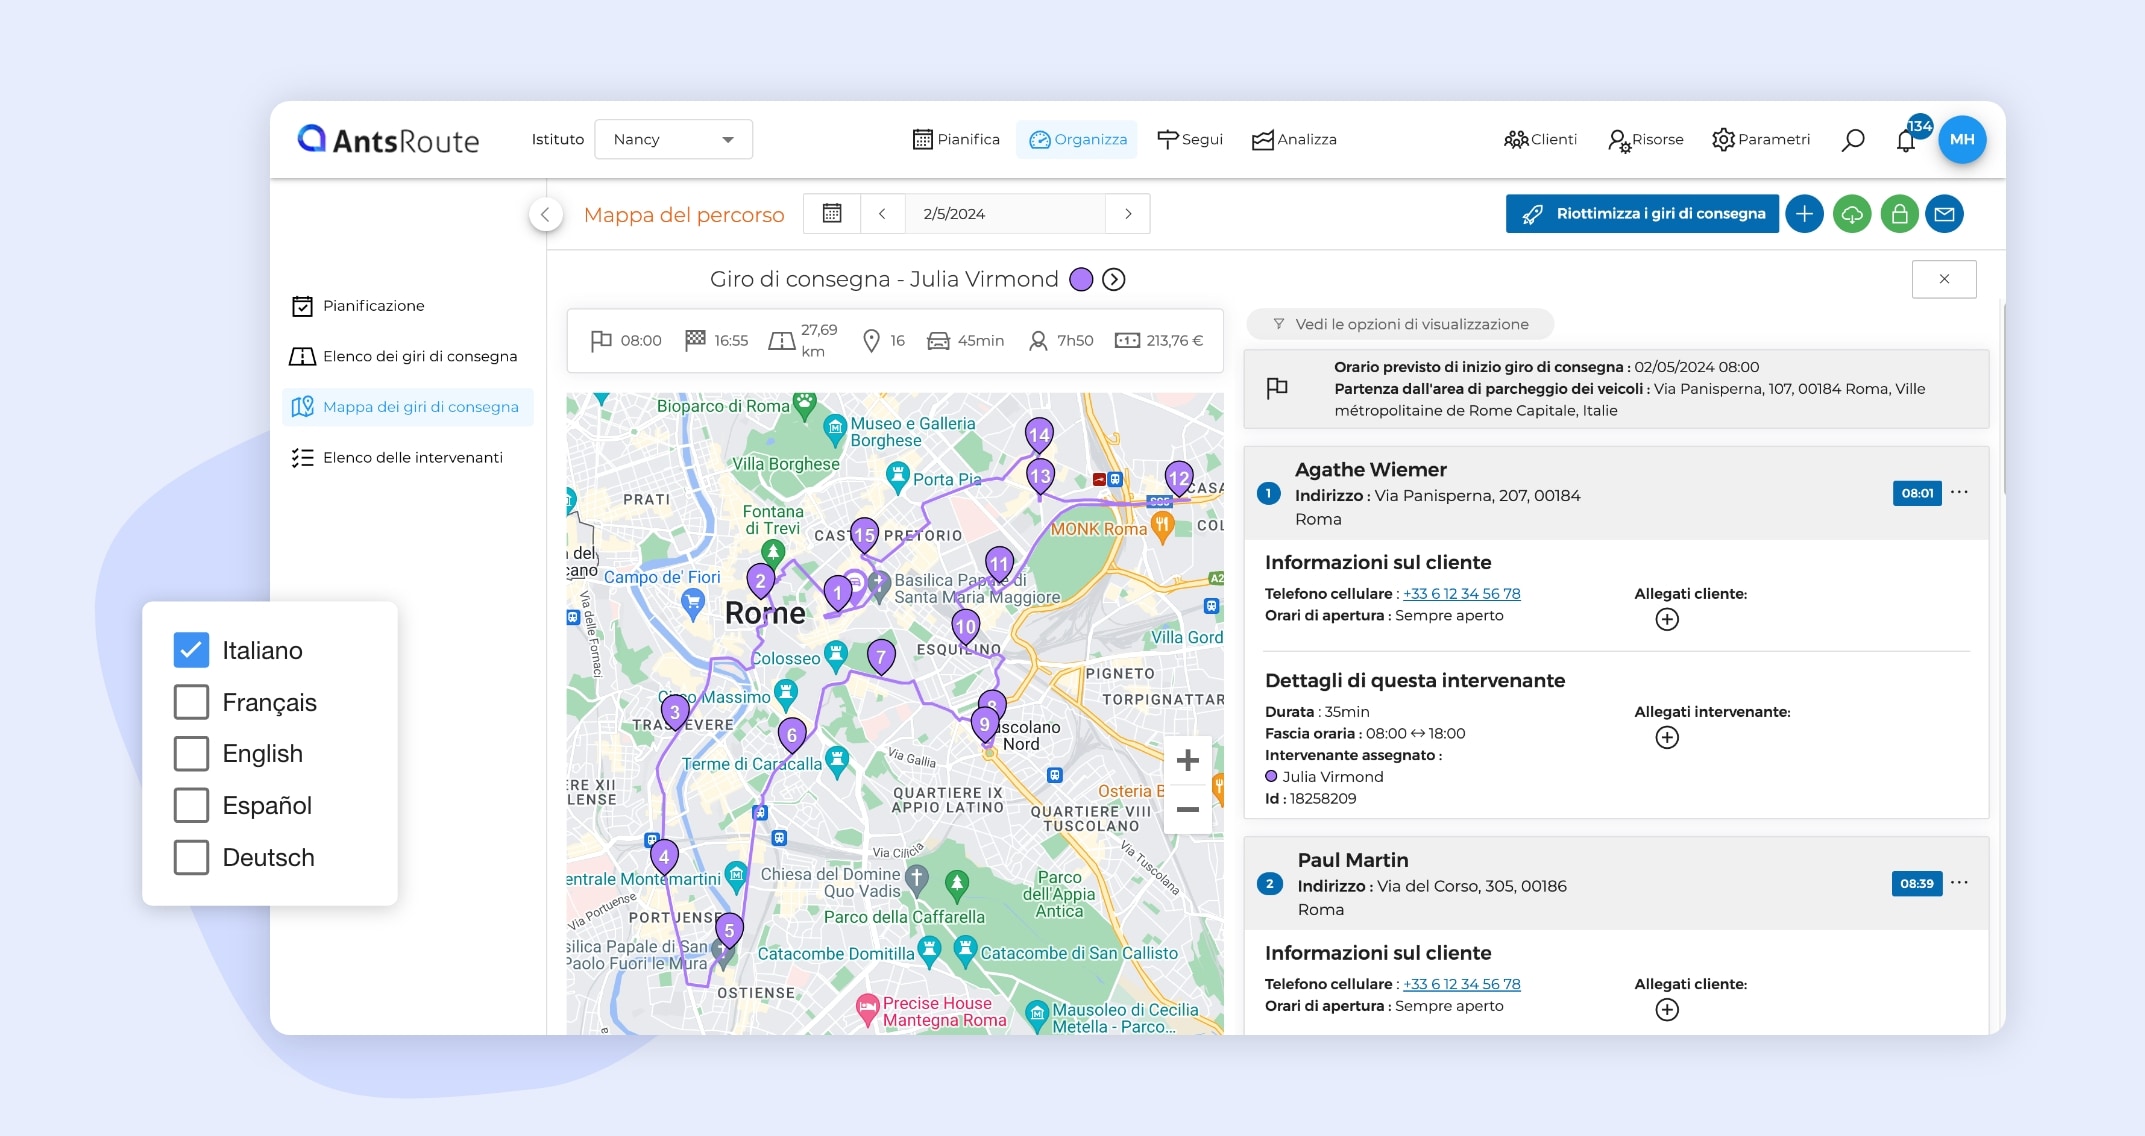
AntsRoute continues to expand worldwide! For several months now, our users have been able to access the route tracking mobile application in Italian. To provide customers in Italy with the best possible experience, the AntsRoute software is now available in Italian.
How it works
To change the language of your AntsRoute account, simply go to the “My account” > “General preferences” tab. From this page, you can select the language of your choice.
AntsRoute is available in:
- French;
- English;
- Spanish;
- German;
- Italian.
To learn more about changing the language of your AntsRoute account, read our support article.
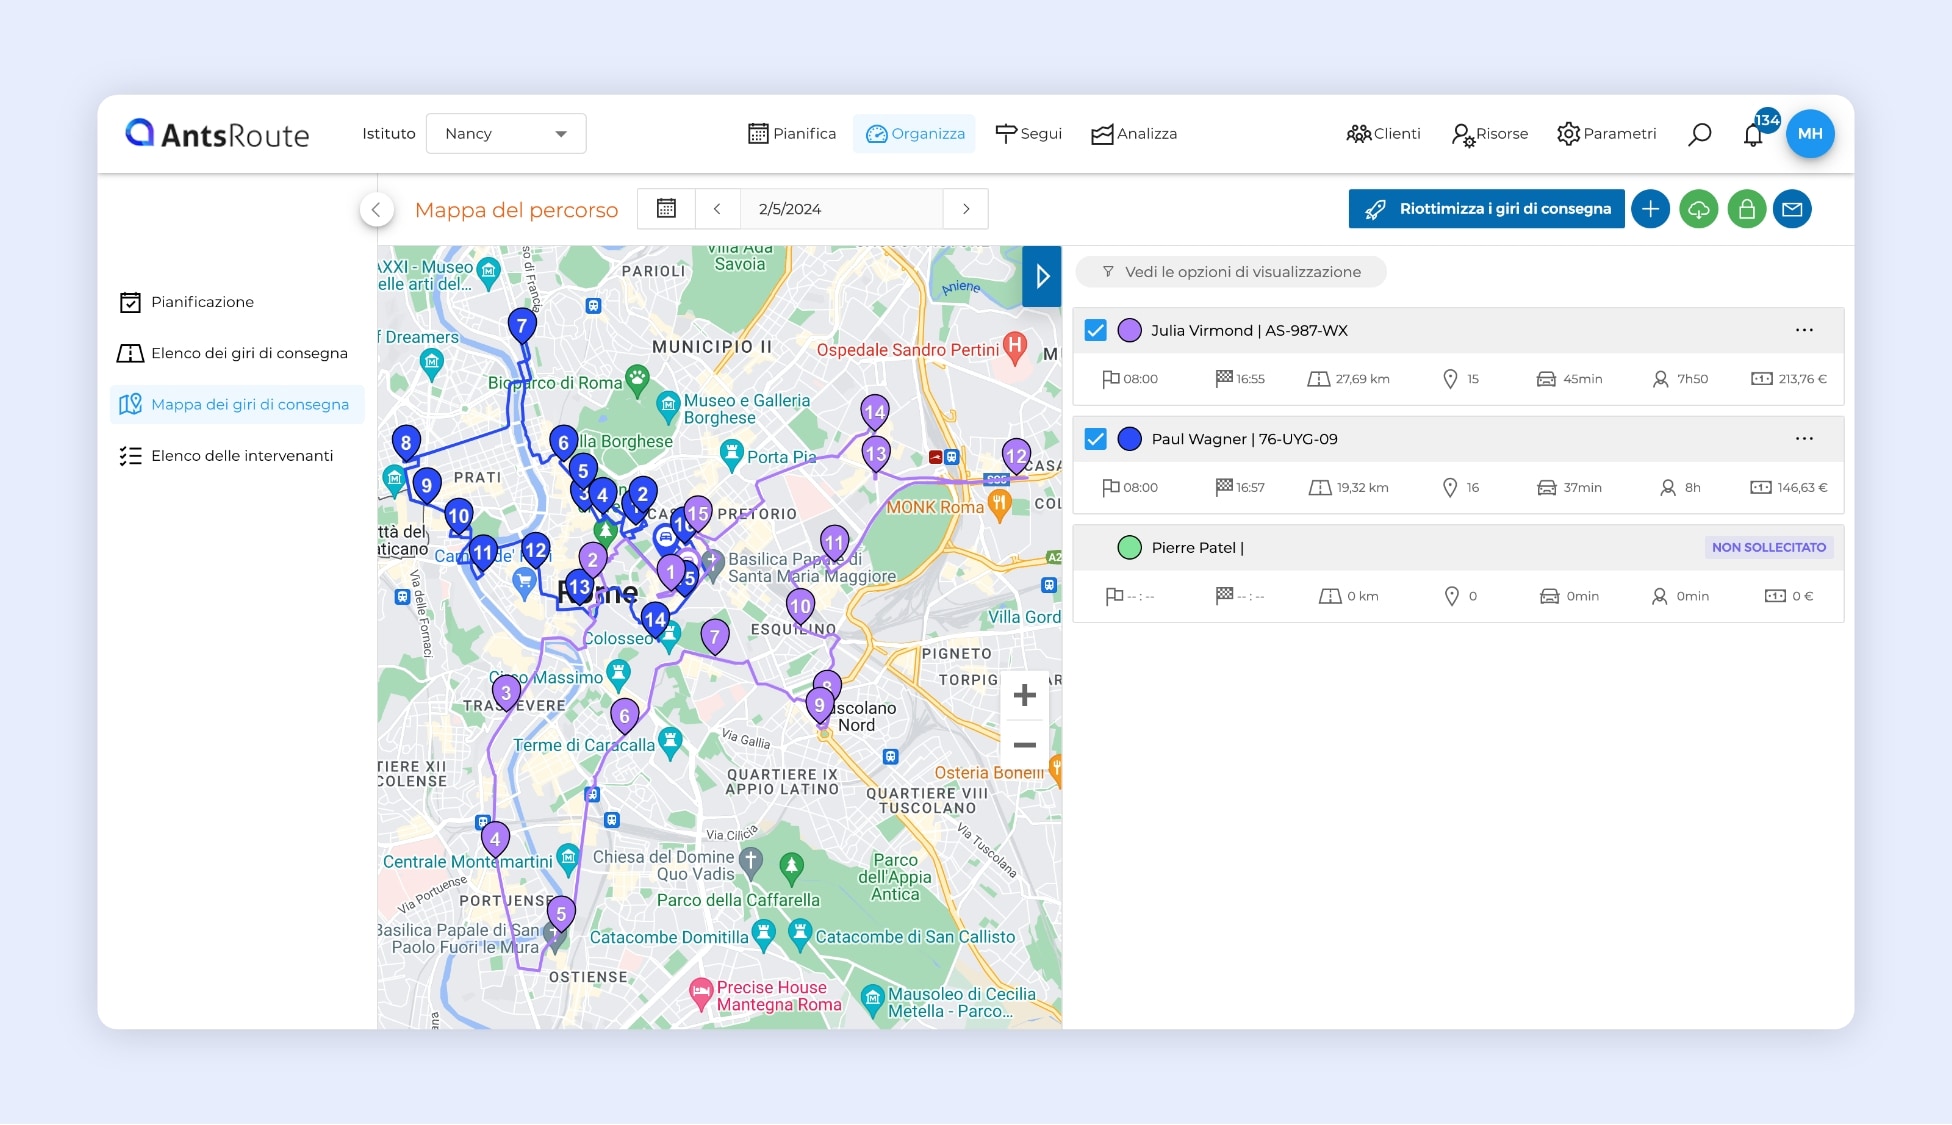
AntsRoute is available in Italian.
Enable customers to download reports from the tracking and rating links
In February, we introduced the new links sent to your customers via notifications. Now we’ve decided to go even further! That’s why we’ve just added an option enabling end customers to download their service reports or delivery notes directly from the tracking and rating links.
If you have several types of report, you can of course determine which can be downloaded from these links and which cannot.
How it works
From the settings of the tracking link and the rating link, you can access this new section: “Downloading of reports”. Simply check the “Downloadable” box for the reports concerned.
To learn more about setting up reports, read this support article.
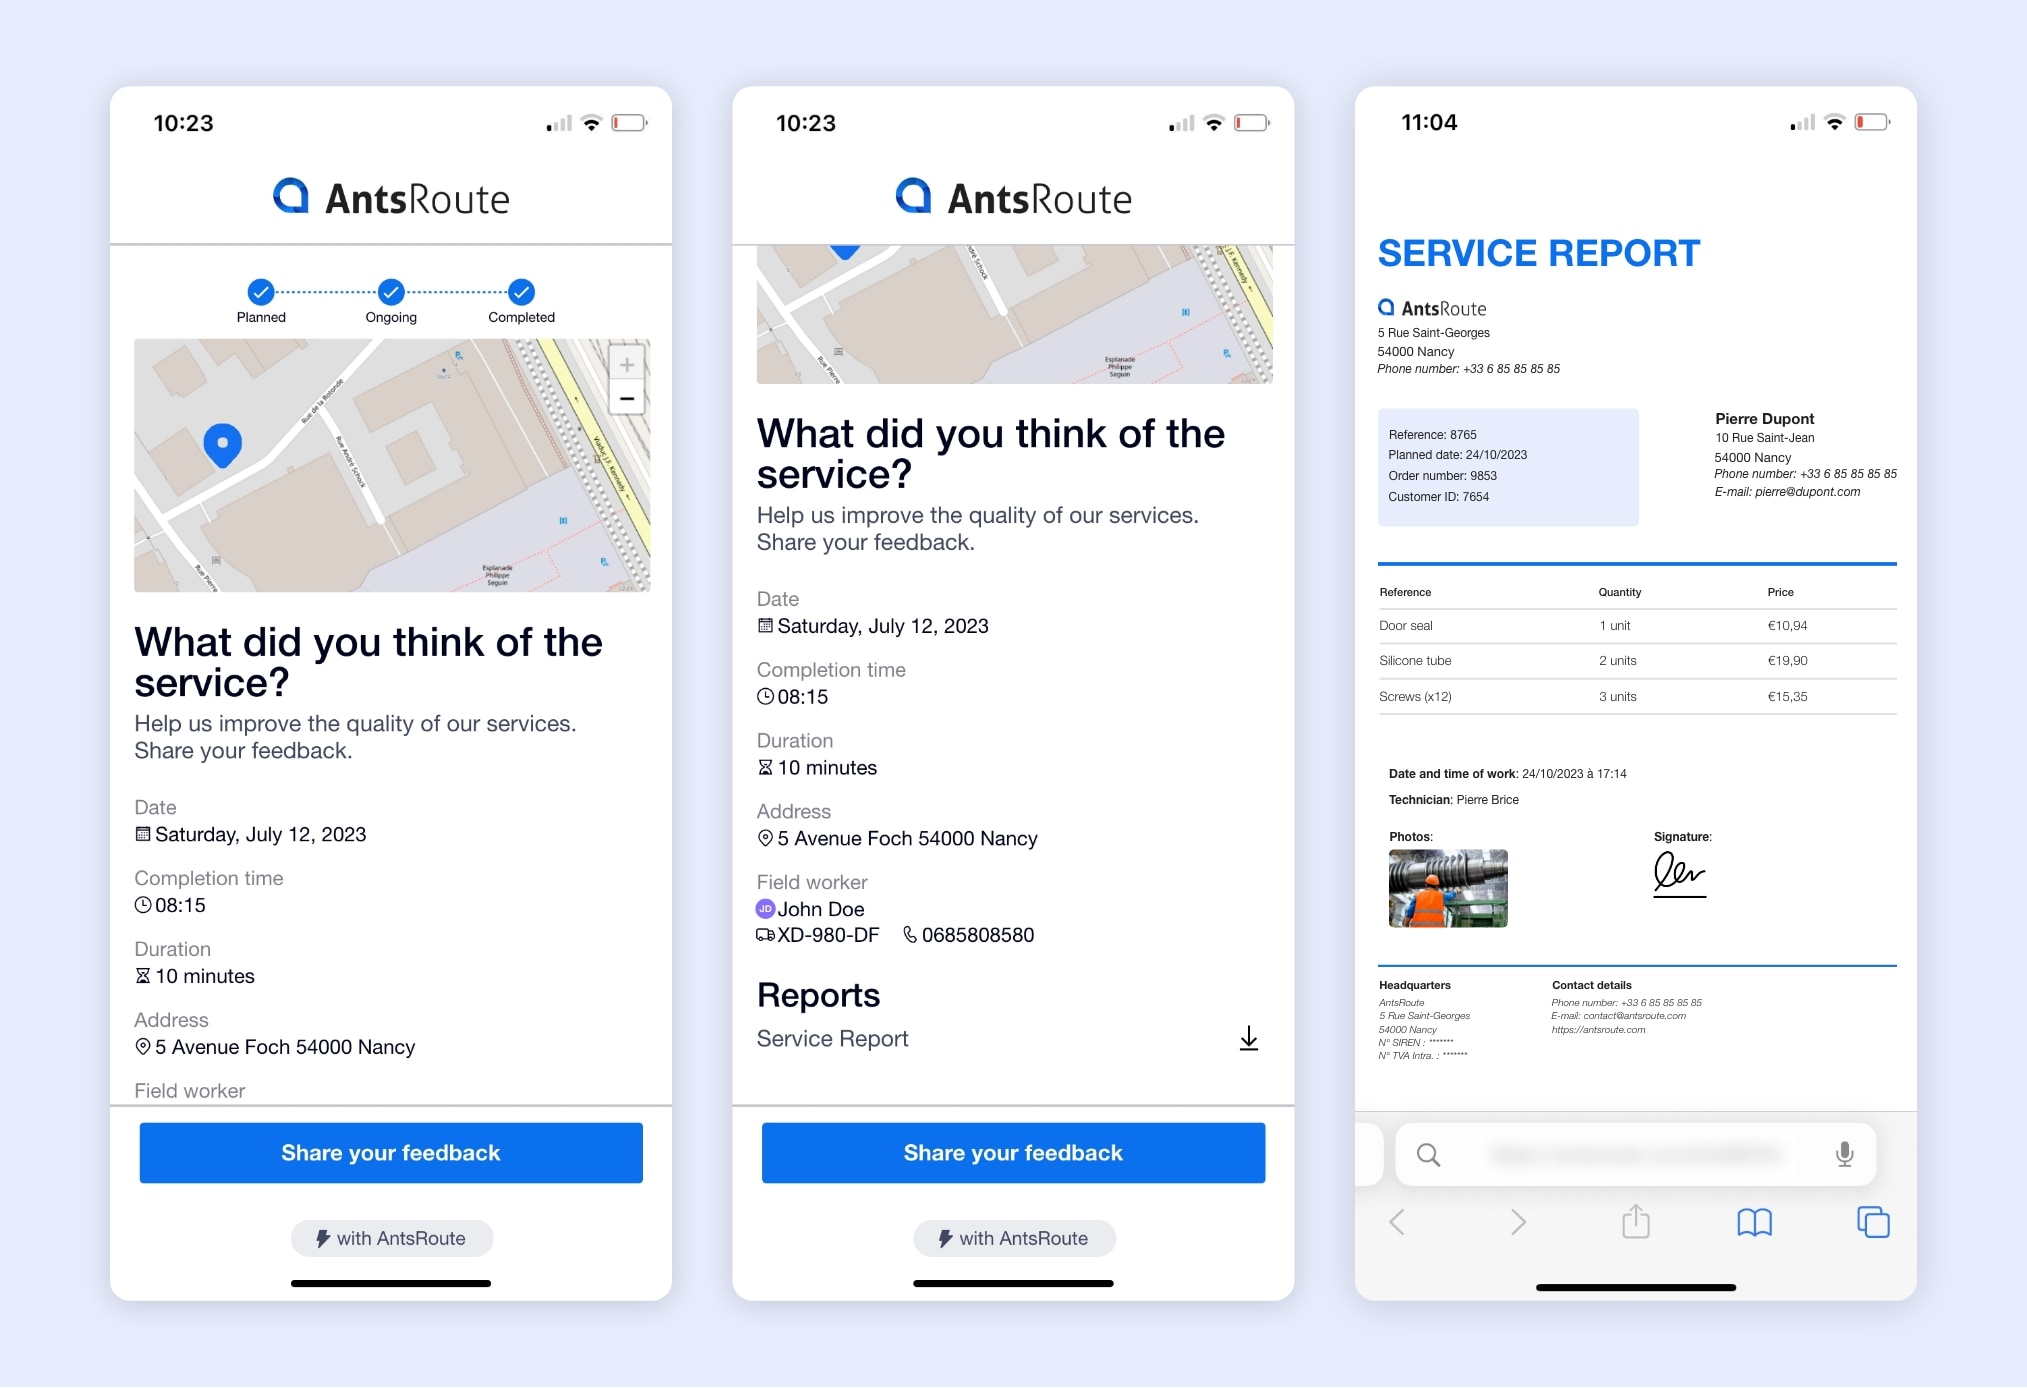
Download of a work order report from the AntsRoute rating link.
Access new indicators in the “Work order report” tab
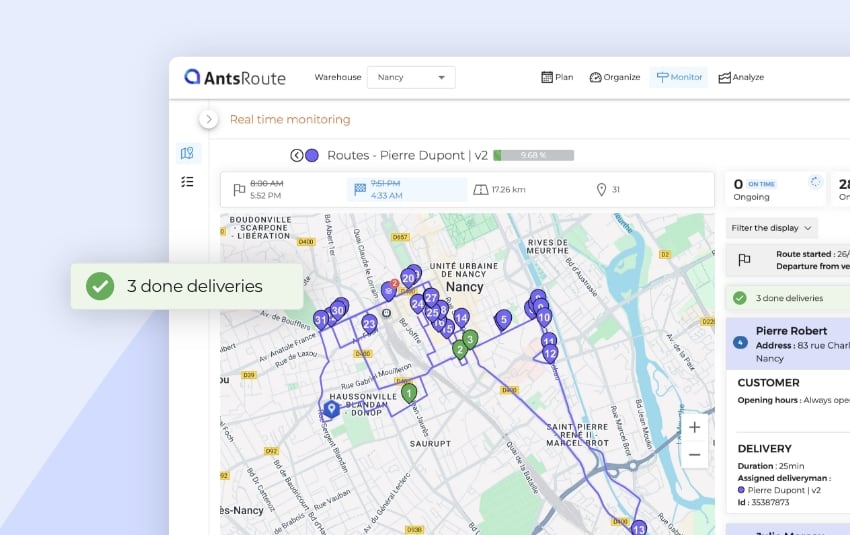
At AntsRoute, we know that you appreciate performance indicators. These KPIs enable you to assess whether you’ve achieved your objectives. That’s why we’ve just added new indicators to the “Work order report” tab in the analysis module. Now you can see at a glance over a given period the number of:
- work orders completed;
- work orders cancelled;
- work orders not assigned;
- work orders planned.
☝️ Good to know: by clicking on one of these indicators, you can filter the display of work orders in your table. This function is particularly useful for analysing your data.
To learn more about these indicators, read this support article.
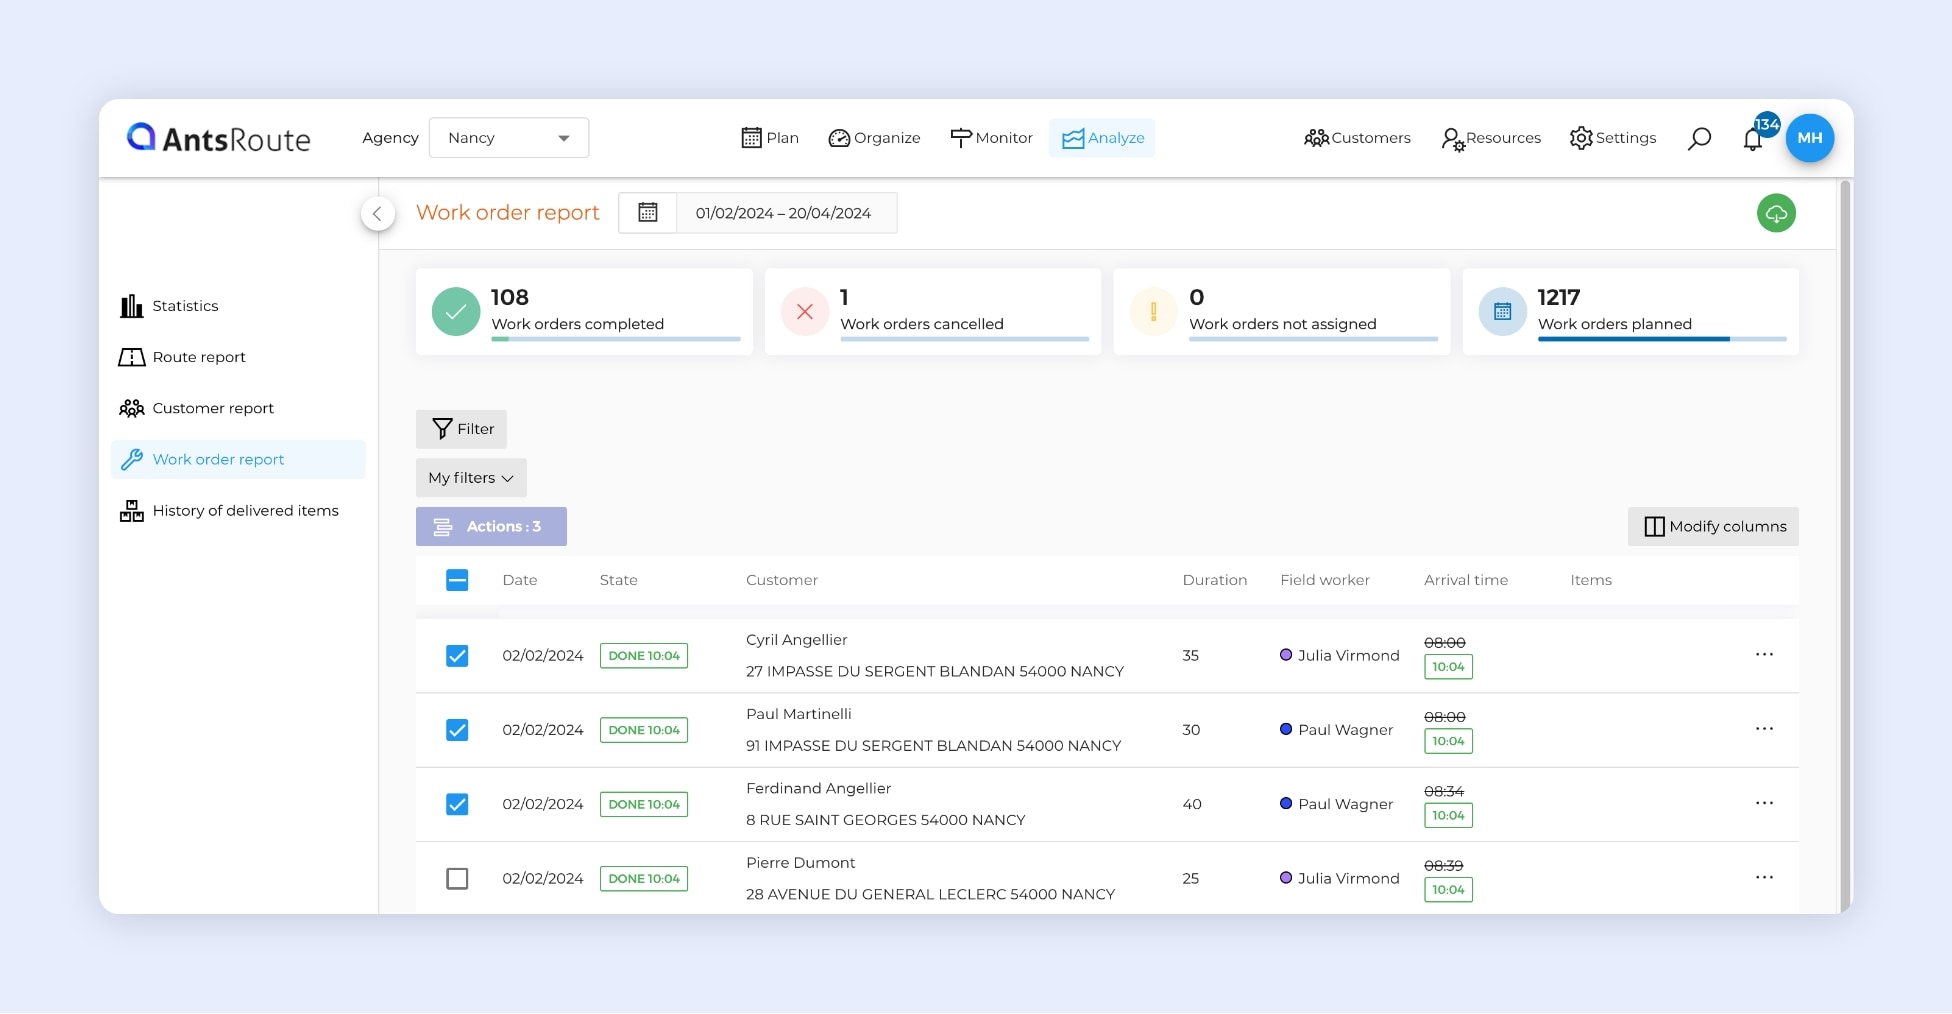
The indicators in the “Work orders’ report” tab in AntsRoute.
Index custom fields to find work orders using the global search
Last year, we developed a global search function in AntsRoute. Previously, this feature allowed you to search for:
- Customers – First name, last name, e-mail, address.
- Vehicles – Name, registration.
- Drivers – First name, last name, e-mail.
Today, we’re giving you new possibilities! You can index custom fields linked to work orders. The values of these indexed custom fields can then be searched using the global search bar, giving you quick access to work order details.
Only custom fields of the “Text” type can be indexed.
How it works
If you create a custom field linked to work orders, you must check the “Indexed” box so that the values for the field can be searched using the global search to find work orders.
From anywhere in AntsRoute, press Ctrl + F (or Command + F on Mac) to display a search bar. From this search bar, enter the value of a custom field to display a drop-down list with all the corresponding work orders. By clicking on one of the orders, you are redirected to the detailed view of that work order.
To learn more about the indexing of custom fields, read this support article.
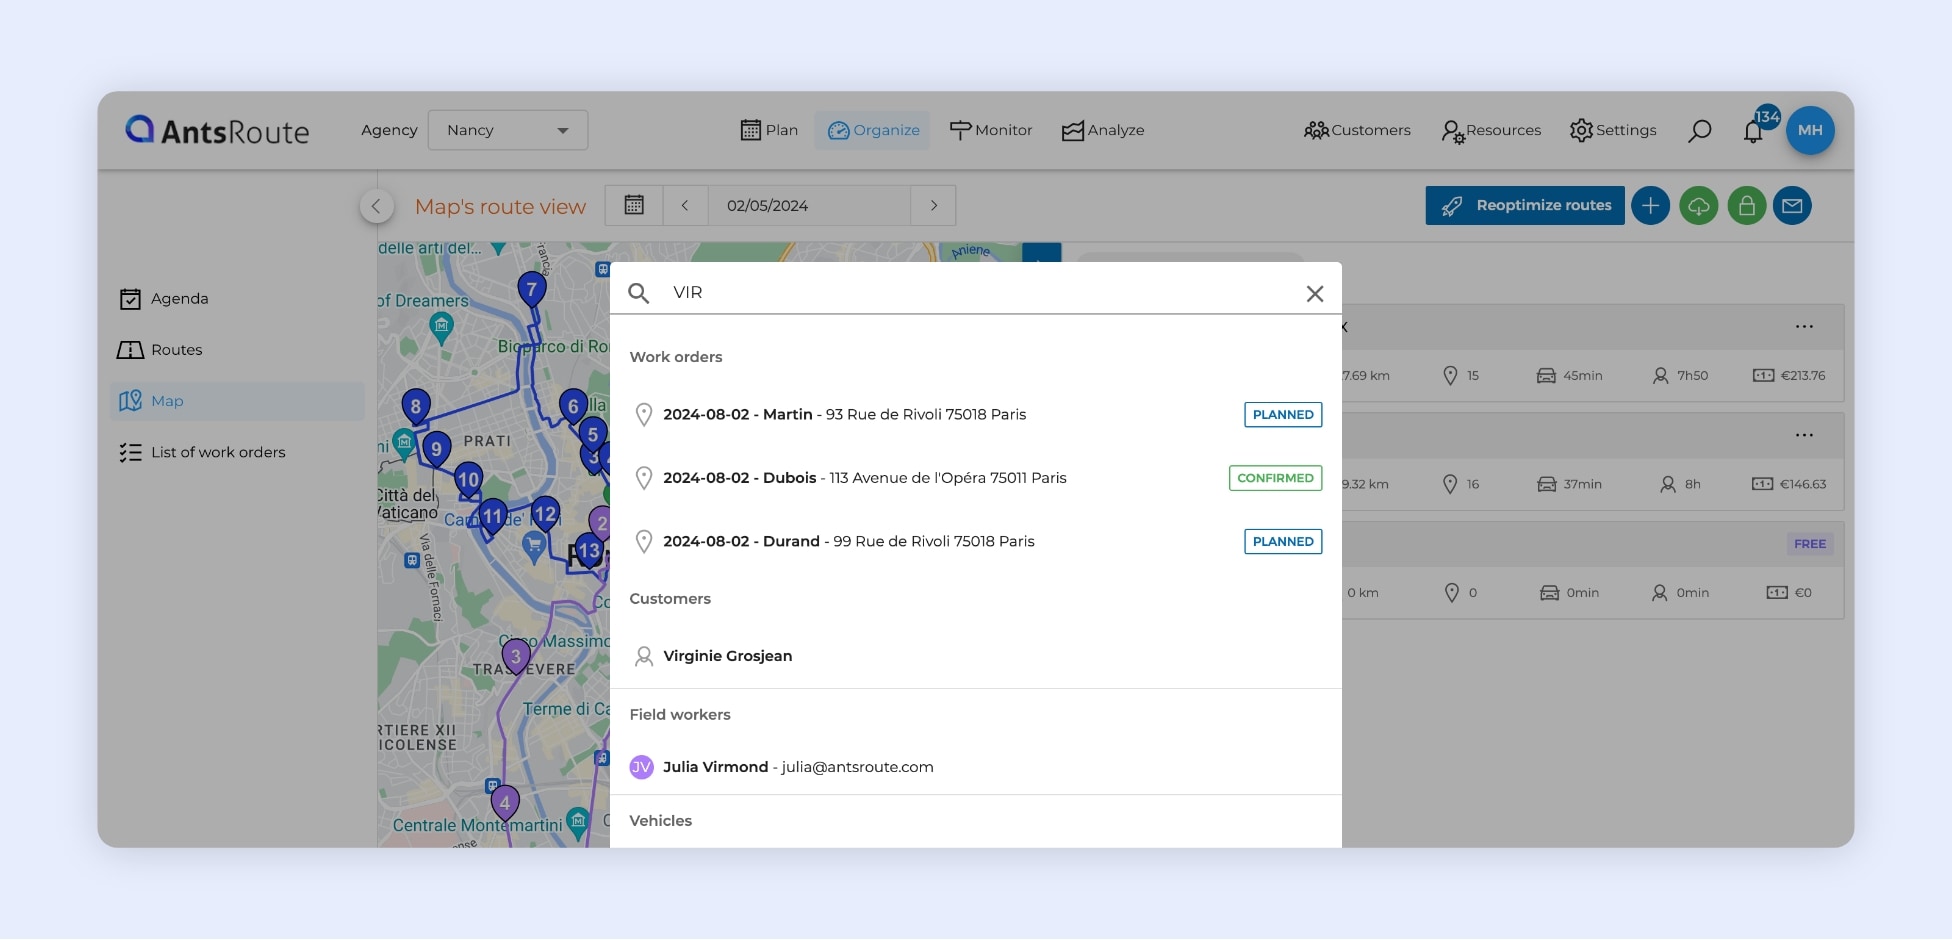
The search for a work order using the global research.
Booking site: maximum distance for adding the first work order in a route
In February, we introduced the new vientchezvous.com booking site, which allows your customers to book appointments 24/7. In response to your requests, we’ve just added a new function. You can now set a maximum distance (in kilometres or miles) for adding a first work order in a route.
How does it work? For example, if you set a maximum distance of 35 km, a customer whose address is 100 km away from the starting address of your drivers or technicians cannot schedule an appointment.
To learn more about the booking site, read this support article.
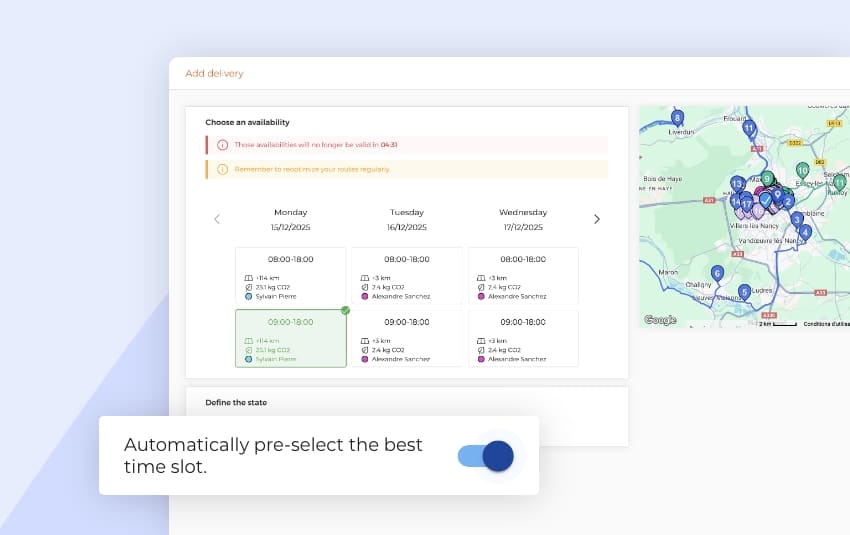
We’ve added a new planning link as part of the redesign of the links sent to customers. In concrete terms, from the “Work orders’ basket” tab, you can send a notification to your customers with a link enabling them to schedule an appointment.
To meet the needs of our users, we’ve just added a new function that lets you set authorised planning days.
How it works
From the “Work orders’ basket” tab in the “Plan” module, select the customers you want to notify and click on the “Notify customers” button. Once you have selected a “Notification template” that you have created, you need to check the “Define authorised planning days” box. Click on the “Add” button to define the first authorised scheduling period. If necessary, click the “Add” button again to define other periods or dates. Finally, click on “Notify” and that’s it!
To learn more about the planning link, read this support article.
Do you have any questions? Don’t hesitate to contact our support team by filling in our contact form.
Optimise your delivery routes today
Free 7-day trial | No credit card required
Contenu
- Il software AntsRoute è disponibile in italiano
- Enable customers to download reports from the tracking and rating links
- Access new indicators in the “Work order report” tab
- Index custom fields to find work orders using the global search
- Booking site: maximum distance for adding the first work order in a route
- Planning link: define authorised scheduling days
- Optimise your delivery routes today


